 Hello! I’ve used this finish on a few pieces I’ve done over the past few years and I get a lot of requests for a decoupage tutorial so here it is.
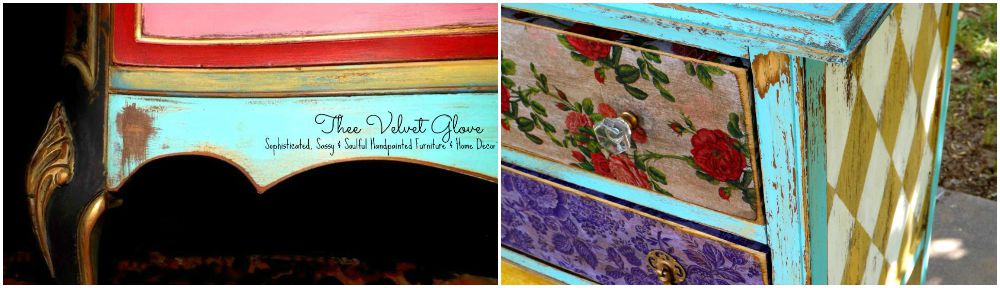
Here are a few pictures of some of the pieces I’ve done it on:
 What you will need:
- Tissue paper (I am always on the look out for different tissue paper designs. I have a hoard of it.)
- 1GEL a Decoupage, Transfer and Sealing Medium all in one.
- Brayer
- Soft cloth – I prefer a staining sponge
- 150 grit sandpaper
- 220 grit sandpaper
- Ancient Agings Aging Dust from Heirloom Traditions
- Vintiques Antiquing Gel from Heirloom Traditions
- Paintbrush
- Paint if you prefer to paint the finish before you apply the tissue paper. It’s strictly up to you. I used a coat of Vintiques Chalk Type Paint in the color Barkcloth and a coat of Posh Pink Chalk Type Paint by Heirloom Traditions for this demo. I do this finish on raw wood so the wood grain shows through and also on painted surfaces. It’s a matter of preference depending on what you’re working on.
 Let’s get started! First I applied a coat of Vintiques Chalk Type Paint in Barkcloth.
 Second, I applied a coat of Posh Pink Chalk Type Paint.
 Third, I applied a generous coat of 1GEL.
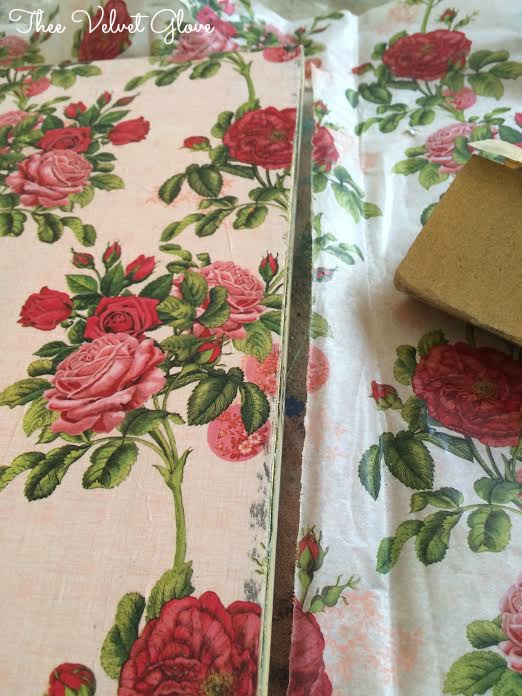
 And laid the tissue paper down.
 I smoothed it out with a soft cloth and a brayer.
 I let it dry for about an hour and then I applied a coat of 1GEL on top to seal.
I let the top coat of 1GEL dry and then sanded the excess paper off of the edges with 150 grit sandpaper. I also use this little blue treasure craft distressing tool by Ingvild Bolme I bought from Prima Marketing a few years ago to distress the edges. I love it!

 I sprinkled on some Ancient Agings Aging Dust to add some contrast and worked it in with a 220 grit sanding block.
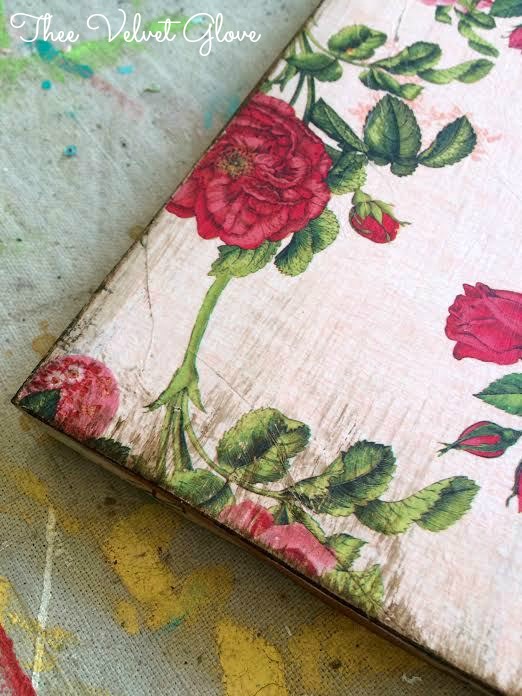
 Then I added some Vintiques Antiquing Gel to give it some extra grunge.
 I wiped it back with a damp rag and that’s it! All finished.


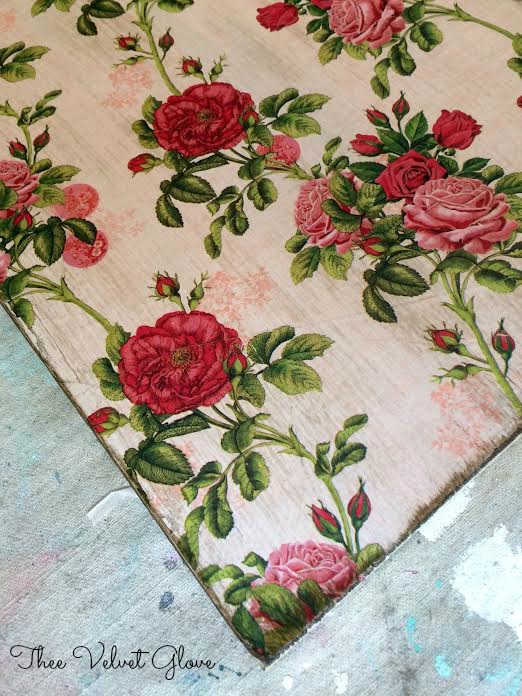

Below are some drawers I did for a piece with the tissue paper over raw wood.
 Want to give it a try? Order the products you need online from Heirloom Traditions.
To locate a retailer in your area click here.
Thank you for your support and thanks so much for stopping by! -L


You make it sound so easy. Looks beautiful and I will let you be the one in this family to create beauty. Mommy
Thank you! XO
Oh my gosh! I love you I love you I love❤️❤️❤️❤️
Thanks!!! XOXO
Thanks for the tutorial! Gorgeous! Haven’t tried decoupaging furniture yet, but it’s on my list. 🙂
Great! Thank you!
Sigh. Your generous spirit and talent is so beautiful.
Thank you, Virginia! How kind of you to say. XO
Lori! I’ve been waiting to get a glimpse of how you create this magic…thank you SO much for sharing your method with us. xox!
Thank you, Heather! You’re the best! XO
Question please! What do you do when you have to use more than one sheet of tissue because your area is large? Any tips on making the seam look good? And where do you purchase your tissue pls? Thank you! ☺
Hi Eileen. You can purchase large tissue paper. I’ve ordered some that is much wider online before. If not I just try to line up the designs. I purchase it at several places, Hallmark, Dollar Tree, Amazon. Target also has a great selection. 🙂
You are a mind reader!! I have been following you for a long time and the two dressers you just posted have never left my mind! JUST TODAY I unloaded a dresser from my car that I wanted to do this finish to and saw your post!! YAY! I just blew up Heirlooms traditions with a $300 order so I hope you get a wonderful reward. Wish me luck!! SO EXCITED!!! I wish I could show you a pic of the dresser now : ) : ) Okay, maybe I am a little over-excited! : )
Yay!!!!!!!!!!! Did you use my coupon code for the 10% off? Email me a pic! I wanna see it! theevelvetglove@gmail.com Awesome!
I got so excited I guess I missed the coupon but they added a few freebies to my cart as I shopped so I am happy! Emailing you a pic of the dresser – it was written in the stars lolol!
You can call in and speak with Melissa and give her my coupon code: VELVETGLOVE and you can get an additional 10% off.
I love this!
Thank you, Lisa!